Really, sometimes it’s just exceptionally good for our spirit to do something we KNOW is achievable and achievable without too much complexity or challenge. So, I’m not going to re-paint a house or attempt to gut an entire room, I’m simply going to make a little bench for a little space I have in mind.
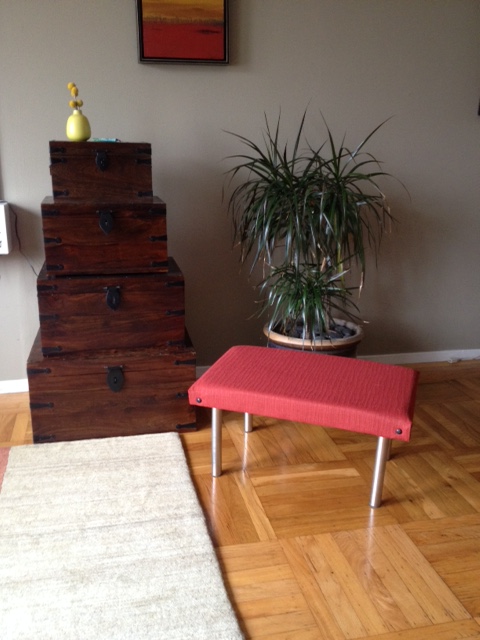
As I’ve mentioned before, our house is small (1,000 sq. ft., at most) therefore, most things in the house also need to be relatively small. I’ve been looking for a small (ish) bench for a space in our bedroom. Something simple that blends well with the other colors in the room.
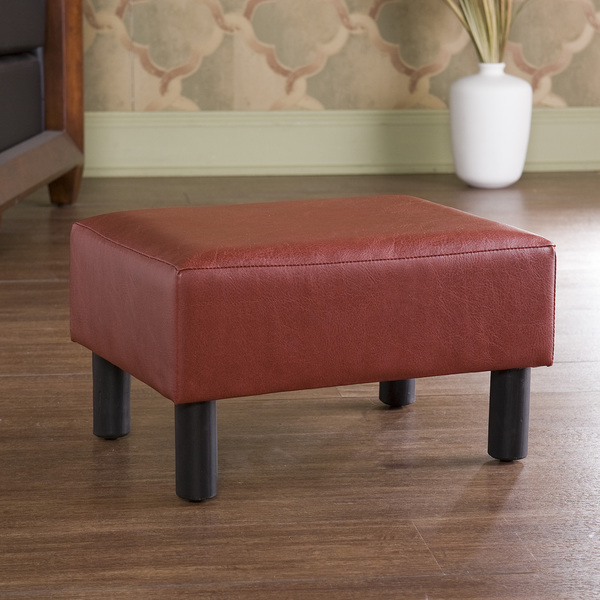
There were plenty to choose from on-line, ranging from about $130 up…

So, unlike many of my other projects, my motivation to make a little bench wasn’t about saving a whole lot of $$. I just wanted to create something. Something relatively simple, low on the “challenging” scale, with a short turn-around time and a high probability of being achievable.
Knowing the approx. dimensions, I first looked around our shed and storage areas for potentially usable remnants from other projects. I love the idea of re-using/”re-purposing” things, particularly things that are just sitting around doing a whole lot of nothing.
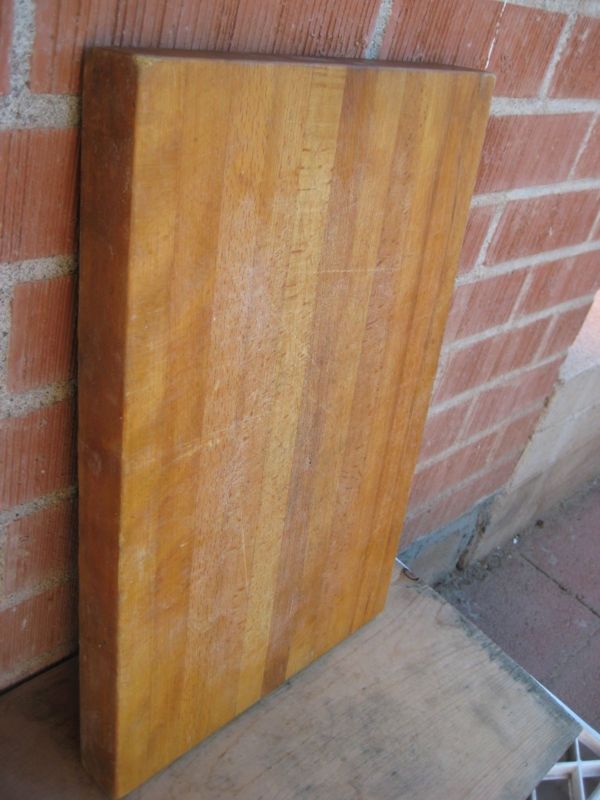
Elke’s Dad found an old cutting board he’s had in his work area for quite a while. It was a good, solid, and heavy piece of wood, perfect to use for the top of the bench.
Then, I found eight bench legs I removed from two new benches we bought a few years ago (as seating for dining room table). I didn’t particularly like the shiny chrome look (pic below) so I ended up replacing the legs.
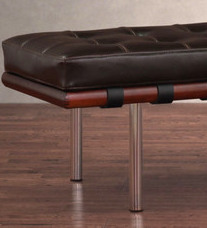
I knew I’d be less bothered by the shiny chrome legs since this new bench was going to be relatively small and in a less visible part of the house.
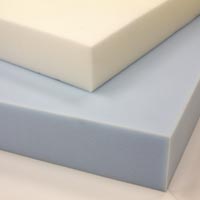
We also just happen to have left over foam we used for seat cushions a while back. Perfect to use for the bench cushion…
 So, now I had the top to the bench (old cutting board), the top cushion (foam), and the legs for the bench. All from simply rummaging through our left over stuff. I was on a role with the whole “re-purposing” concept.
I then found some left over foe-leather I’ve been meaning to use on our leather chair in the living room, since the cats had started to thrash it…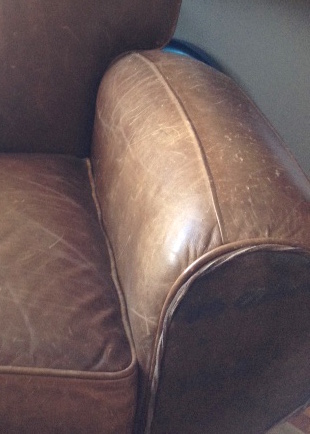 Ouch… poor chair.
Cats, yes, plural, we have two. I’m not even a “cat person” but here we are with two…

Anyway, since I was on a role with using left over everything for this little bench project, I proceeded to use the foe leather for the new bench.

It was all moving forward quite nicely until Elke quickly put a “Kibosh” (where did the word “kibosh” come from anyway?) on the foe leather idea. She was surprised I was even thinking about using it.
The thing was, once I stopped and really looked at it I too agreed, it SO didn’t look good.
 What was I thinking??
I think I was consumed by the momentum of the whole “re-purposing” of things and completely lost sight of the overall look I was going for. So, a very good thing that Elke did a little “reality check” on the project.
BTW – “Kibosh”; From the Irish caidhp bháis, meaning death cap (the hood put on someone before they were hanged to death, or the “Black cap” worn by English judges when pronouncing the death sentence).
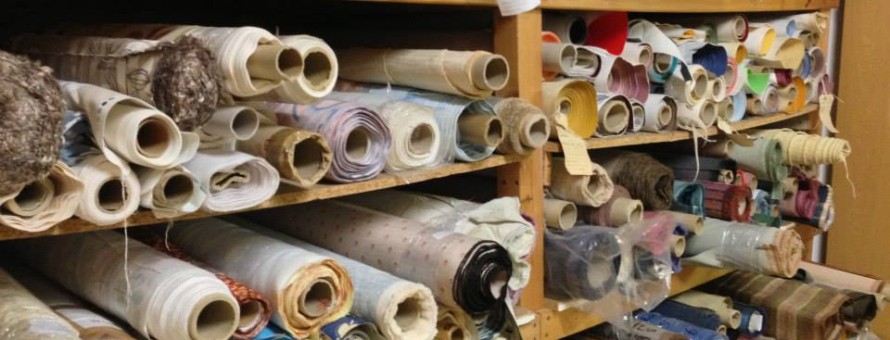
Back to the making of the bench…… so, the last couple of things I needed; some new upholstery fabric and a few upholstery nails.
I found myself back at JoAnne Fabrics with all the “Crafters”, definitely an interesting experience in itself, and ended up finding a perfect piece of upholstery fabric, liking the texture, and color. Lots of choices….
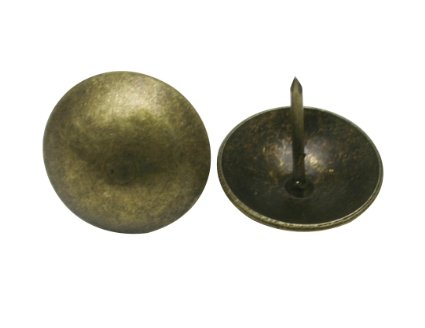
I also picked up a some upholstery nails. I wanted to add one to each corner of the bench.
Ok, all set with materials.
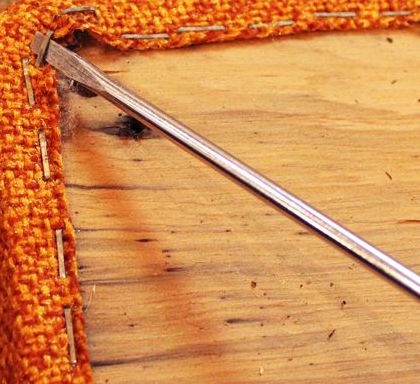
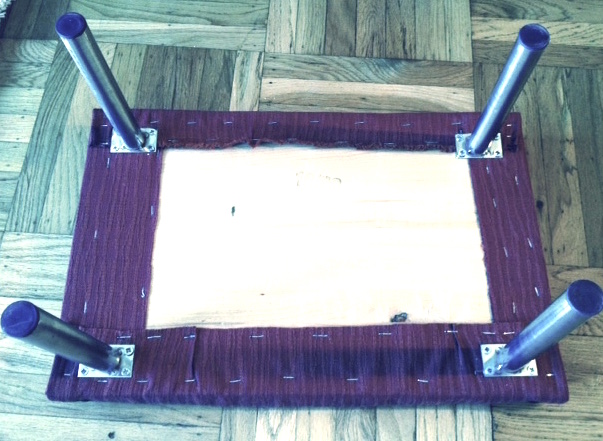
I had a staple gun, a drill, and a hammer so I was ready to simply put it together. I cut the foam to fit the top of the wood and the fabric large enough to go over the top and partially around the bottom of the wood. Then, pulling the material relatively taught, stapled the upholstery to the bottom of the cutting board…
Marked the holes for the leg bases on the back of the wood and drilled small starter holes…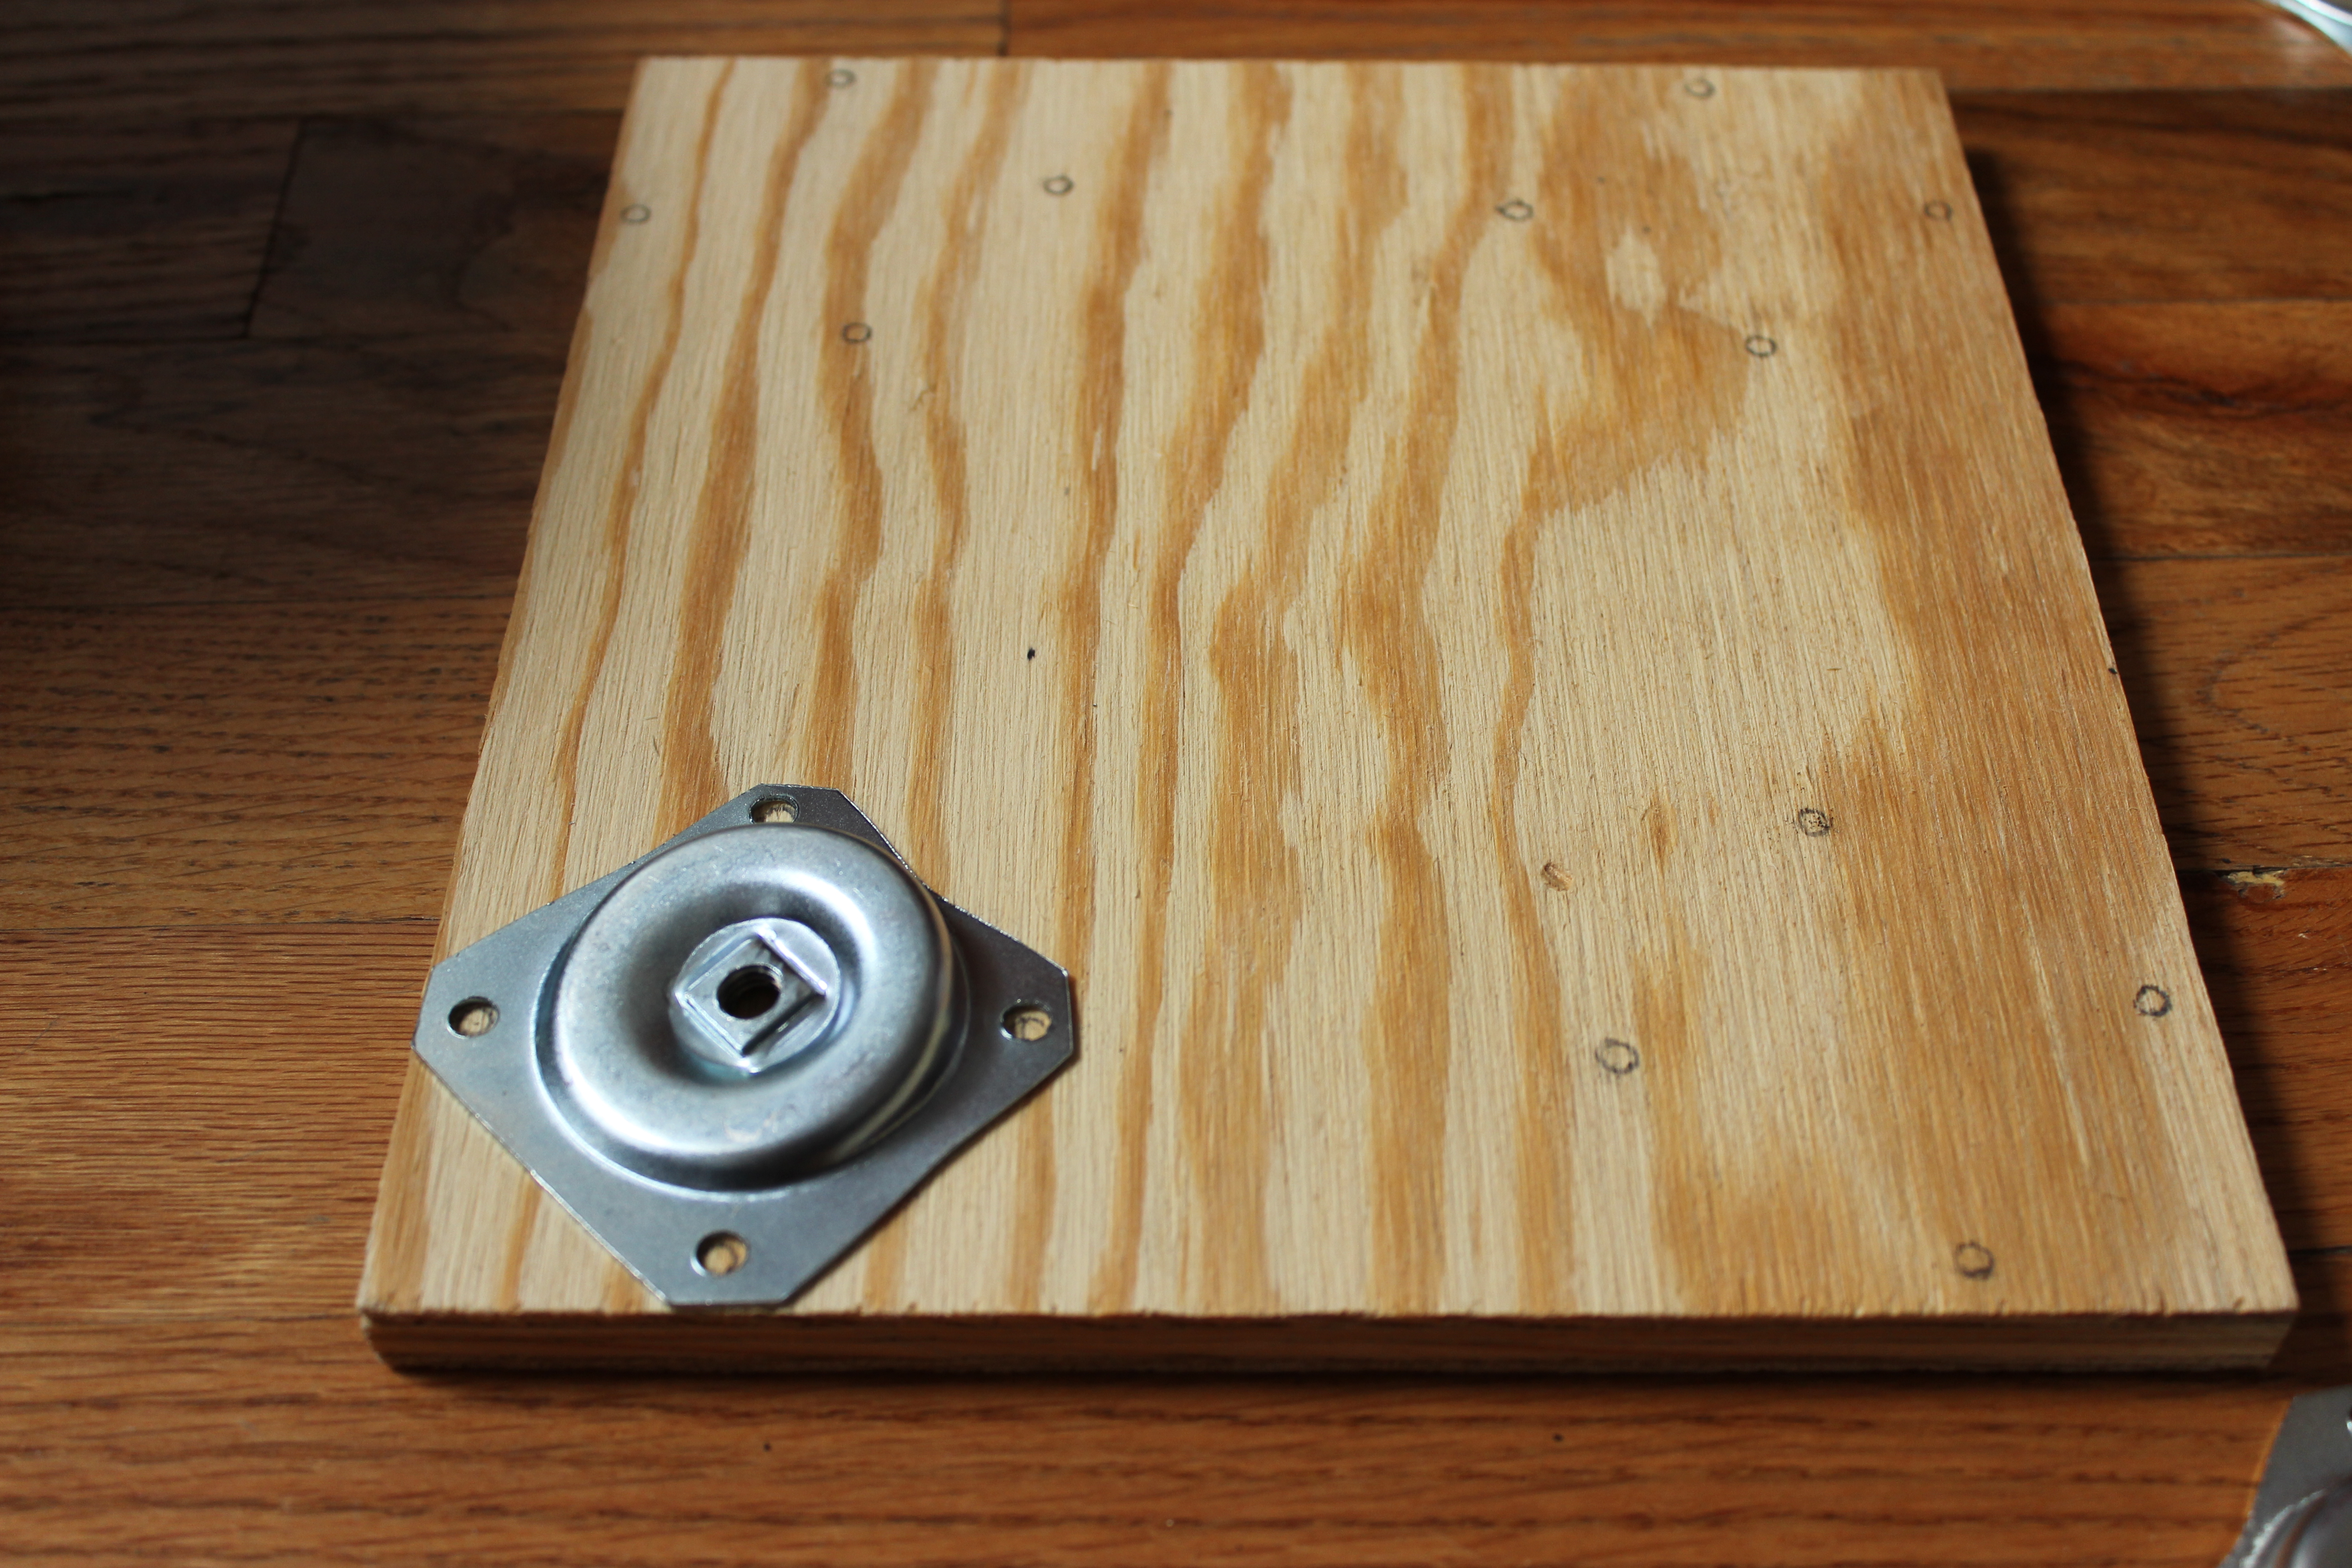

Attached the legs…
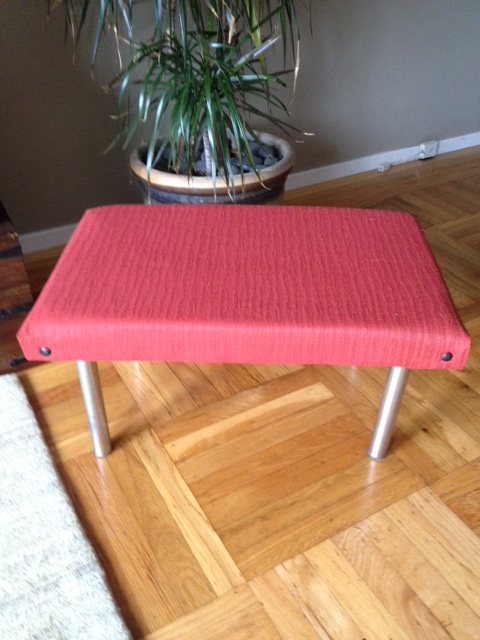
Finally, nailed upholstery nails in each corner…

And, WAALAA, a little bench is made……
Summary
- Cost if purchased directly; Minimum, $130
- Our cost; Upholstery remnant, $7, nails, $3, I had other materials (legs, board, and foam lying around from other projects), Total cost, $10
- Savings; Approx. minimum, $120
- Time; Approx. 2 hours
- Stress level; Low
- Fun level; High
- Do it again assessment; Yes! A relatively quick project with high satisfaction= good for psyche.
