I’m a little tired of talking about the changes to the exterior of the house (you may be as well). So, onto an interior tile project. However, I definitely want to come back to the exterior with focus on the front Doors. They were both so awful looking when we bought the place and it made a HUGE difference when we changed them out. But, for another blog.
The first tile project I wanted to do was the fireplace. I searched Yelp for a couple of specialists and ended up getting two quotes. Once again, the quotes simply motivated me to want to do the project myself. One came in at, $2,900 and the other, $3,200 (labor only).
Soooooo, this is my fireplace tile project story….
I have a love/hate relationship with doing tile work. I love the idea, and the vision of how it will (or, should) end up looking. I also like much of the actual work itself but at some point I get REEEAALLY sick of doing it. It’s usually when I’m partially through the job and there’s just no turning back….
Tile work is not necessarily difficult (unless maybe you’re an absolute perfectionist) but it’s time-consuming and messy. The prep time is hugely important and having the right tools is key to the overall success of the project.
I’ve been almost always happy with the final outcome of the few tile projects I’ve done so, there’s been a high satisfaction rate in doing it. High satisfaction = a very good thing.
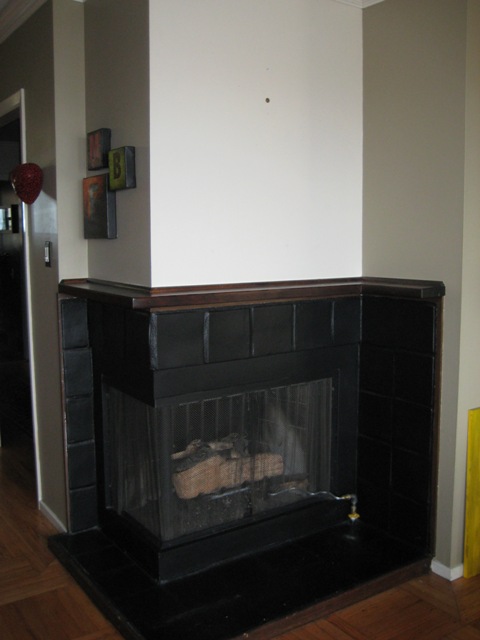
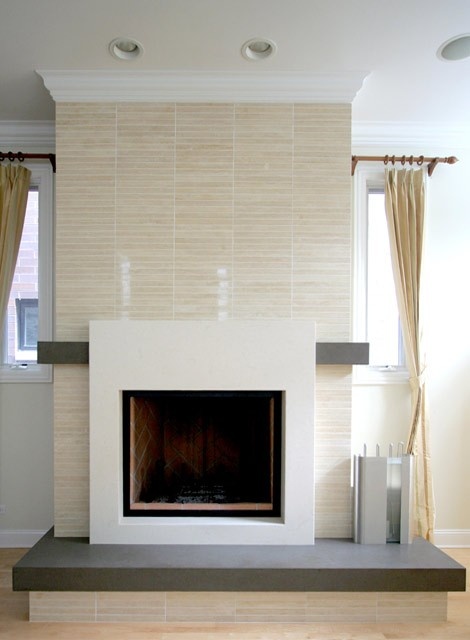
We found our original fireplace pretty unattractive and knew it had much greater potential. So dark and absolutely no “pizzazz”…..
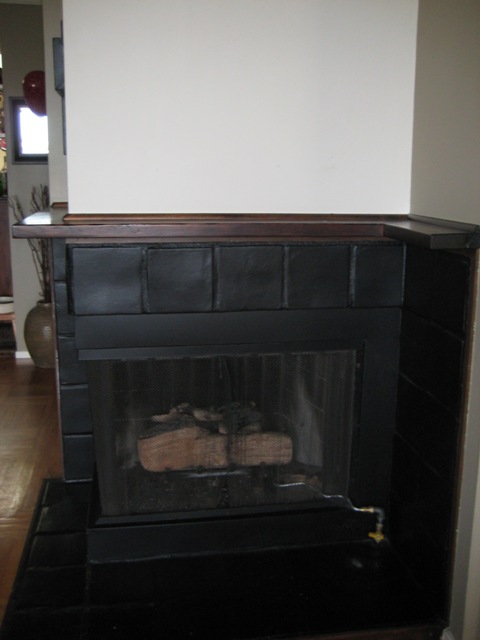
There was a good amount of wall above it that I had visions for as well….
Also, the timing to do this particular project was perfect as Elke was going out of town for a week with her “Besties” so, a good time to make a mess of the house.
Because I had done a couple small tile projects years ago I knew some pretty basic things about what was needed; a tile/water-saw, mortar, grout, proper tile tools, and a “plan”, or “pattern” for the space to be tiled.
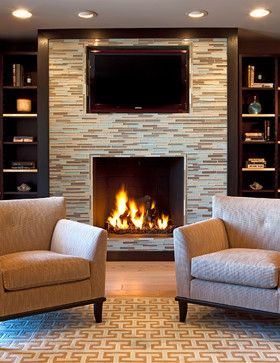
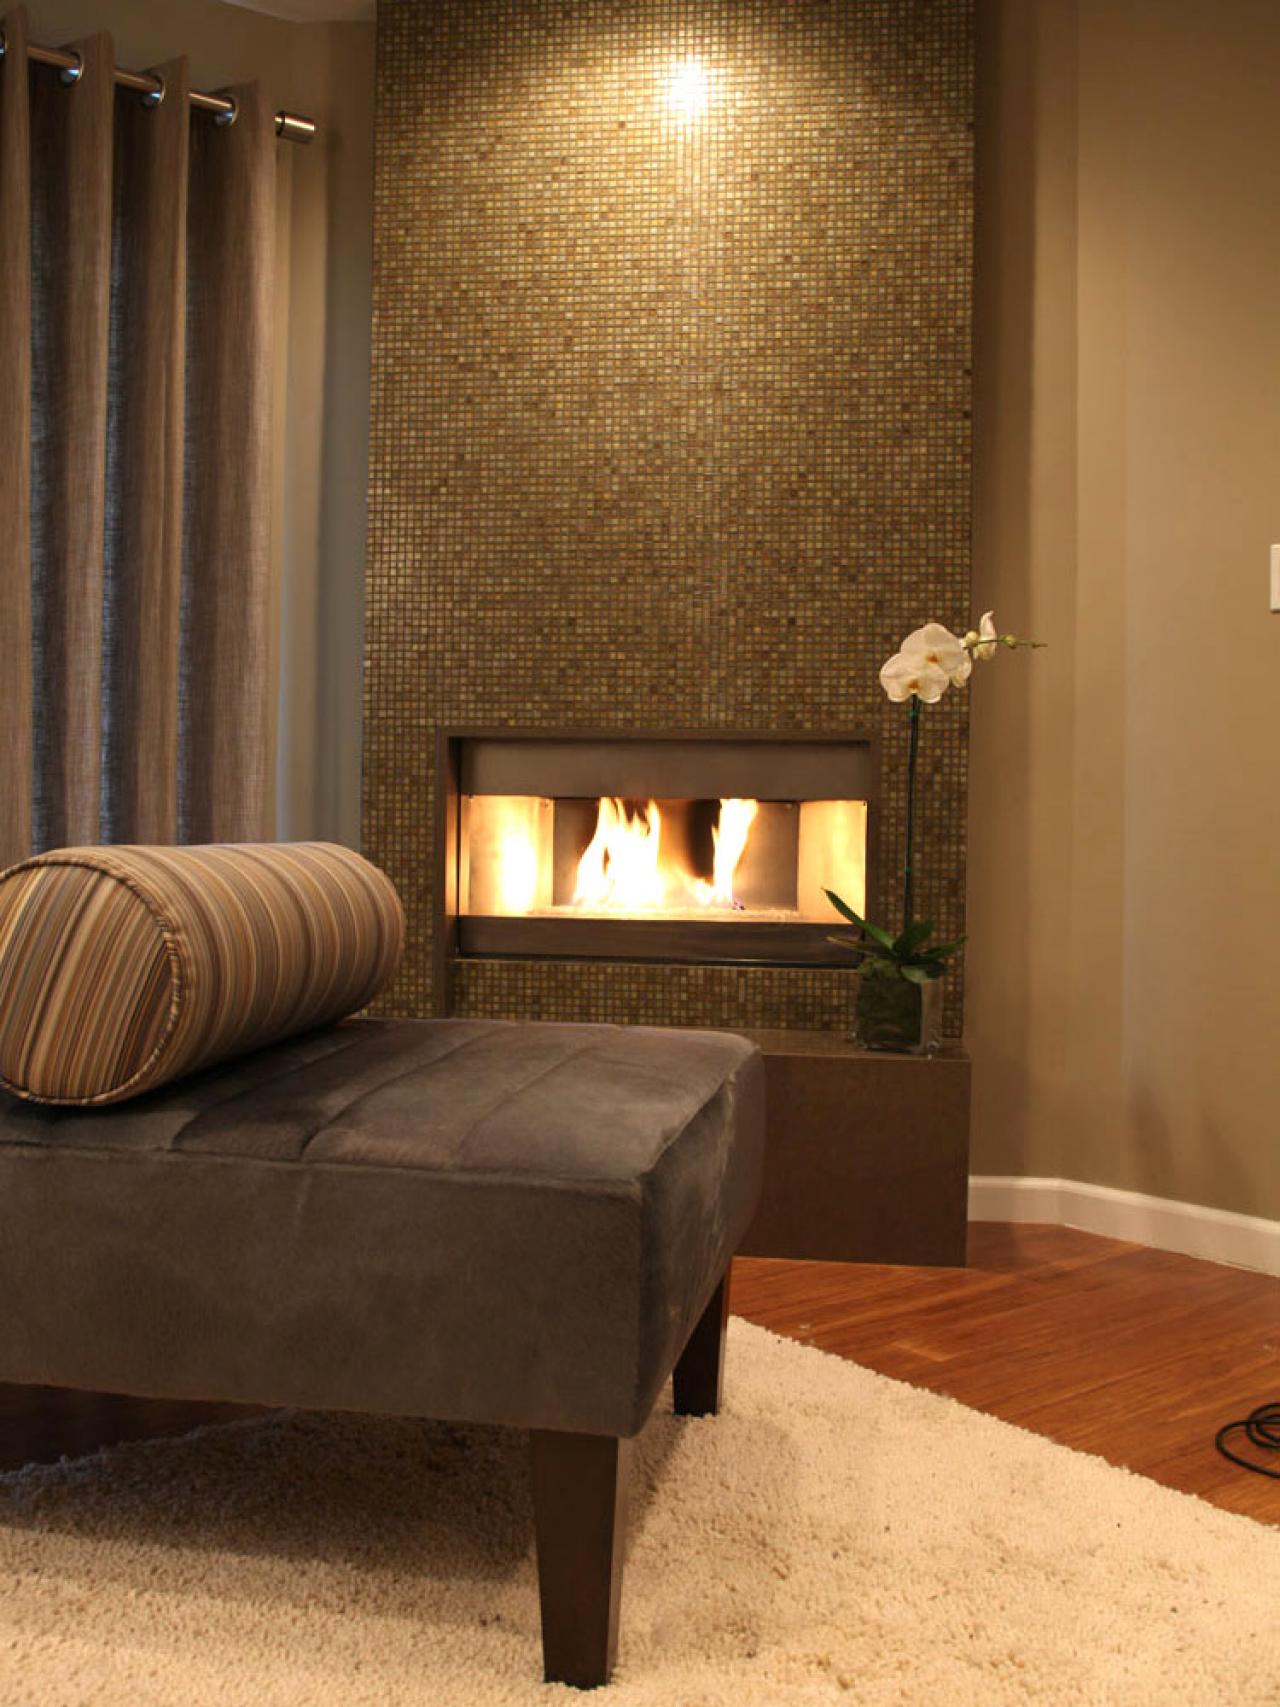
First, we looked at a number of pictures via Google’s “Images” and got a good sense of what we liked. A few images we looked at….
Once we decided on the look we were going for, I shopped around on-line and found some beautiful tiles. But, I wasn’t really comfortable getting the tiles site-unseen or paying the relatively high prices. And, although there are plenty of tile suppliers in the designer section of San Francisco and we happen to have a wonderfully talented (and, Beautiful) Designer friend, Jen Alden, who would have been happy to connect us, I wanted to see what Lowes had to offer. They (Lowes) usually have decent selection of things while being easily accessible, a no-hassle return policy, and great prices. So, off to Lowes (I REALLY need to buy stock, lots of it).
Turned out, Lowes had a wide enough variety of tiles and a couple of options similar to the look we were going for. I purchased the tiles, loaded up the car with many boxes and headed home. I still needed a tile (or, “wet”) saw. There’s no way the project could be done without one. But, I also didn’t want to spend hundreds $$ on buying a new one.

So, I searched Craigslist and found a used water saw for under $100. The Seller assured me it had only been used for one tile project. Ok, ready.
Everything I needed was either up in the main part of the house or out in the back yard. The reason I mention this and as somewhat of an aside, getting everything in a typical San Franciscan house is kind of project in and of itself.
Most of us live on hilly streets which makes basic things, like parking and walking, a bit more difficult……
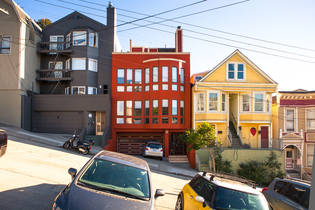
And, many of us have LOTS of stairs to get into our homes. We have 31…
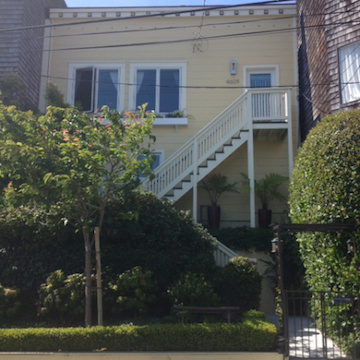
Soooo, it takes “some” effort to pull it all together.
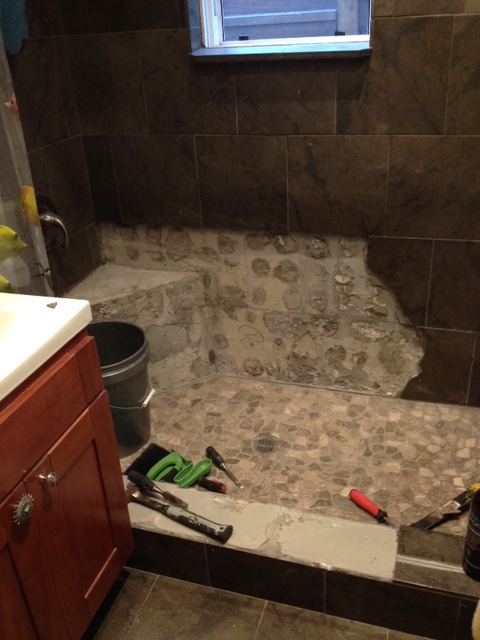
Ok, back to the tile project. Everything in the house and ready to go. First, I needed to remove the existing tile. It was a messy, dusty, and loud process….
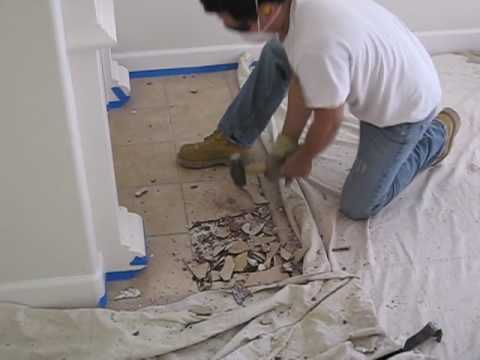 PS: In case you were wondering, this is NOT me, just an example pic.
The areas then needed to be sanded down to create a relatively even surface for the new tiles. Again, messy and dusty.
Next, I measured the spaces I intended to tile from floor to ceiling because I wanted to go all the way up with the tile.
I needed to create those same measurements in a “pattern” on the floor, similar to the pic below. Finally, I lay out the actual tile in the pattern. Basically, you’re preparing the specific shape of the space to be tiled so when it’s time to lay the tile on the wall the pattern is already completed, tiles are cut, and you’re ready to just start adhering the tiles. Time consuming but important.
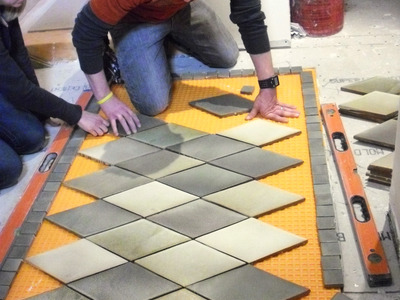 PS again: That’s not me either. Just another “example” pic.
It is also during this part of the project when the wet saw is mostly used. Wearing a rain coat (or, the like) when using the wet saw is important, otherwise you’ll get soaking wet.
 Yes, this IS me. More casual shoes highly recommend. 🙂
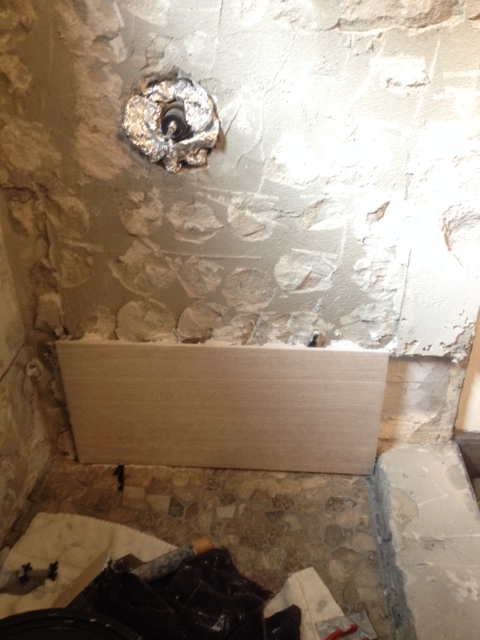
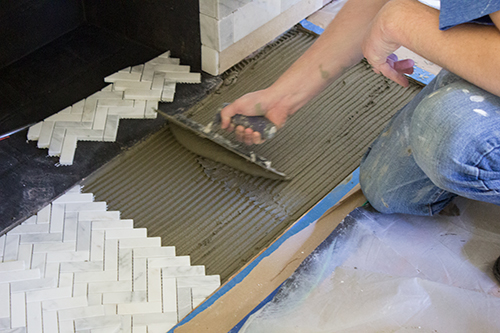
The first step in laying the tiles on the wall (finally, getting to the actual tiling) is to apply a layer of mortar, like the pic below. It basically adheres the tiles to the surface. I did this in about 2-3 ft. sections, knowing I’d have enough time to lay that amount of tile BEFORE the mortar dried. “Kind of” important.

Fiiiinnnaaalllllly, I started laying the tiles. Great timing because I was starting to get REEEAALLY sick of the project and this helped to rejuvenate me a bit.
This took a number of hours.
Finally, all the tiles were up! 🙂
As much as I would have liked to be finished at that point, I wasn’t. And, as much as I would have liked to have said, ‘the messy part was over’, it wasn’t. It was now time to grout the spaces between the tiles….

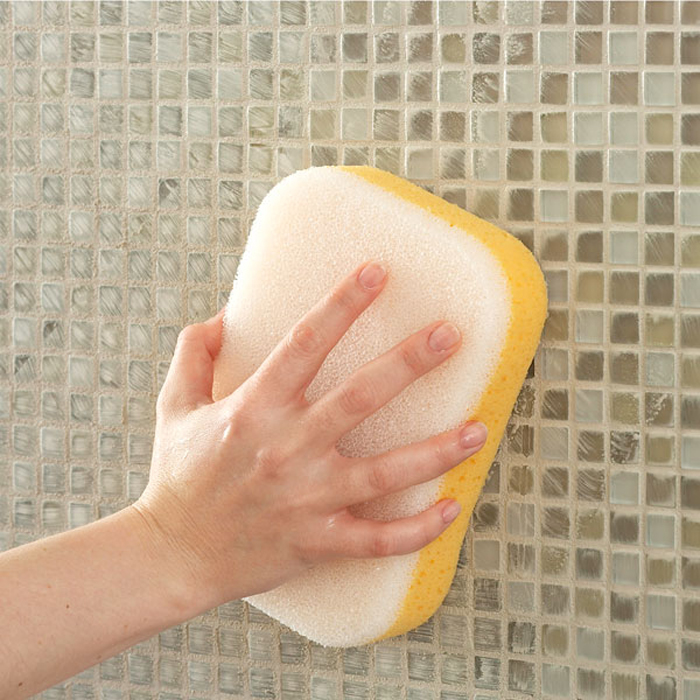
Apply grout, wipe, rinse, apply grout, wipe, rinse, and so on and so on. It takes a while to remove all the grout film (haze).
Final removing of the grout haze….
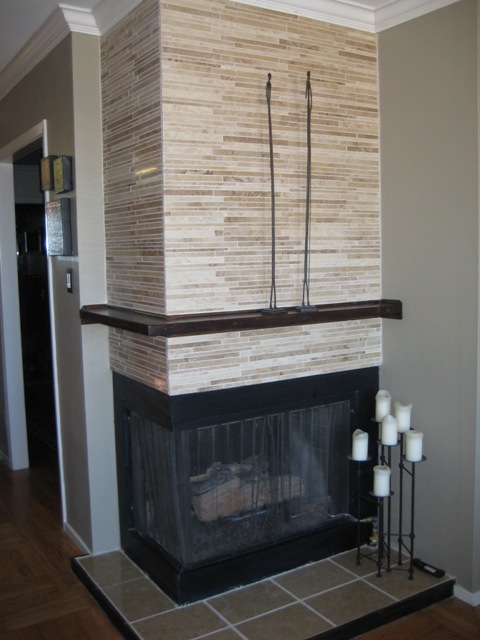
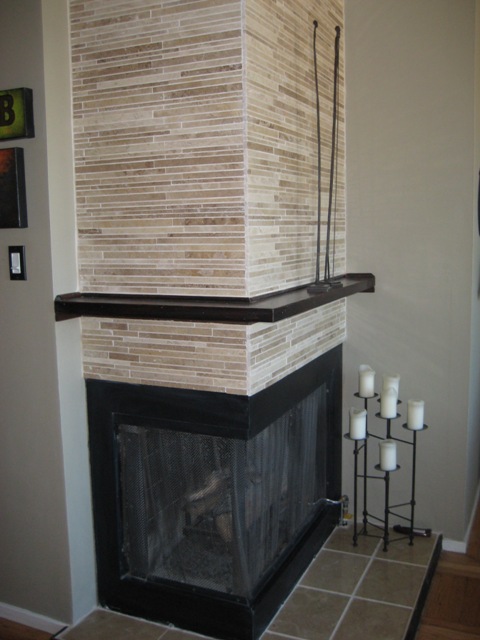
A few days (and, Bourbons) later, DONE!!
As a reminder, BEFORE…
SOOOO much better!
Summary
- Quote from Tile specialists; about $3,000.
- Our cost; tile $370, wet saw $85, mortar and grout $70, additional tools/sponges $30. Total, about $555.
- Savings; Approx. $2,400
- Time; I don’t know exactly but, numerous hours each day for about 5 days.
- Stress level; Low to moderate (depending on my level of patience).
- Fun level; High at first, Low during grouting, High at final outcome.
- Do it again assessment; Yes!
