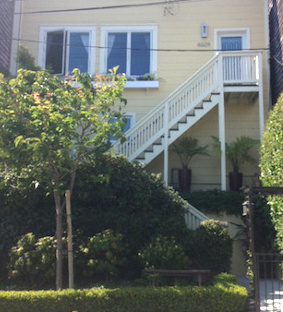
Did you happen to see the picture from the previous post? That one with the original picture of the house that had ONE flower box between the two front windows? Here it is….
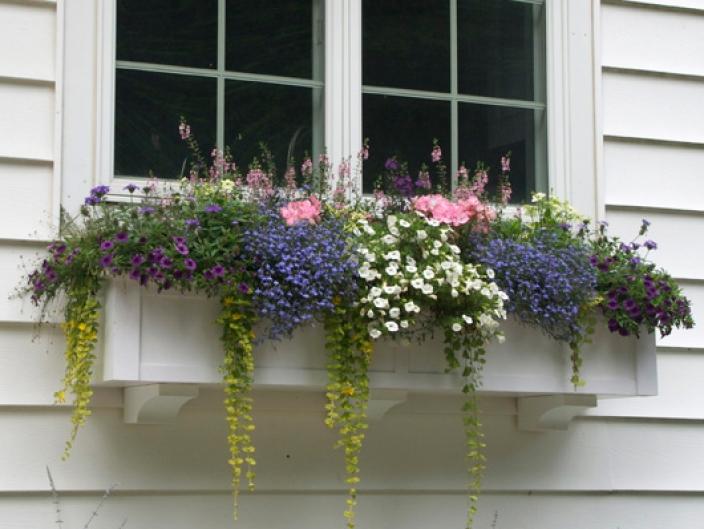
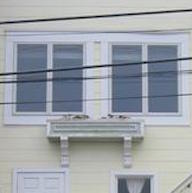 I have a feeling most people would agree that it’s definitely a bit odd looking. It was absolutely not pleasing to my eyeballs. So, I started pricing window boxes. We needed two 60″ boxes, one for each window. I just wanted simple, little, if any, flair window boxes. Kind of like this……
I certainly found plenty available at various places, i.e., Amazon, Windowboxes.com, etc. however a single 60″ “basic” window box ranged from $159 to over $200 per box. This didn’t include the brackets needed just below the box that attach to the house. Decent and basic wood brackets where about $37 a pair. So, it would have been about $400 to purchase the boxes directly. It was one of those, “Thanks, I’ll it myself” moments. Not an overwhelming project relative to having recently painted the house.
Off to Lowes I go. Picked up the wood, had them cut it for me and proceeded to drill screws on all sides to make two 60″ window boxes. They weren’t perfect. That is, they weren’t “perfectly” squared and there was a “slight” space at a few corners (see pic below). But, they were certainly perfect enough for me and no one would ever be able to see the imperfections from a distance.

I was reminded from an employee at Lowes that I needed “galvanized” screws otherwise, the screws would rust and ugly brown drips would run down our pretty little paint job. I also got the wood brackets at Lowes where I found the pair for about $8. Basically, the brackets are simply for aesthetics (I hadn’t known this at first) as they really don’t support the weight of the window boxes. That’s another piece of the project.

I purchased a pint of off-white high quality outdoor paint, and painted three coats on both boxes (interior and exterior) and the brackets.
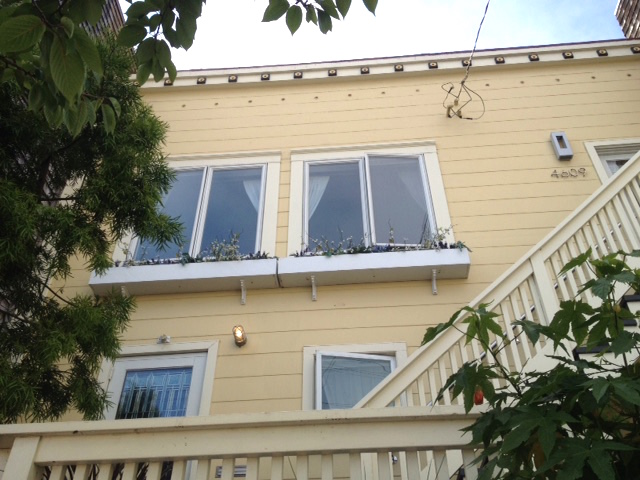
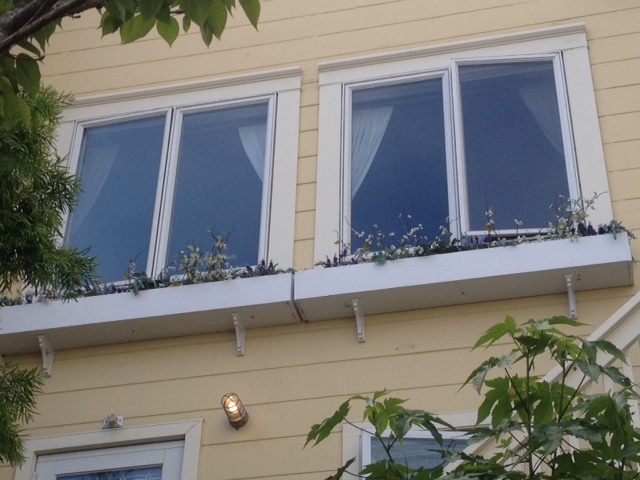
So, now it was time to adhere the boxes to the house. As you can see from the photo, the windows are a bit high. The boxes were a bit heavy (definitely heavier than I thought they were going to be). And, I am a bit “petite”. I thought it best in this instance to “call in the troops” for help. So, I started “Yelping” Handy People in the Bay area. Typically, I go with someone with a decent amount of reviews (at least 12) and also with good reviews (of course). I got a good feeling from the first guy who provided a quote. Often, I go with my gut feeling about someone. It works most of the time. 🙂 He did the job for $150. I thought it was a bit “high” but didn’t feel like shopping around at this point. He was amazing! He must have spent at least three hours being sure the window boxes were balanced, secure and on correctly without damaging the house. Worth the $ for sure. So, there we have it…..
Summary
- Cost if purchased outright; about $400 for two window boxes and two pairs of brackets, $150 for Handyman install. Total, $550
- Our cost; wood $78, brackets $8, paint and screws $25, Handyman $150. Total, about $260.
- Savings; Approx. $200.
- Time; Approx. 5 hours.
- Stress level; Low.
- Fun level; Somewhat.
- Do it again assessment; Maybe, depending upon my mood. I may decide it’s not worth the $200 savings for the amount of time it took.
PS – Are you wondering about the weight of all the soil in the boxes? I was a bit concerned about that too. More on this in next blog.
