August 13, 2015
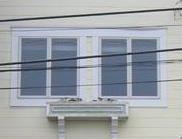
You know how it goes. You start one “little” house project and there are all sorts of others that MUST be done as a result. Soooo, while we were prepping the house to be painted I brought up the fact (probably for the 42nd time) that the front windows just seemed a bit “odd looking”. Although they were two separate windows they were seemingly connected by a single piece of wood on both top and bottom that ran the width (or, is it “length”?) of both windows. Not the clearest of pictures but you can see (around all the city electrical wires) in the pics below.
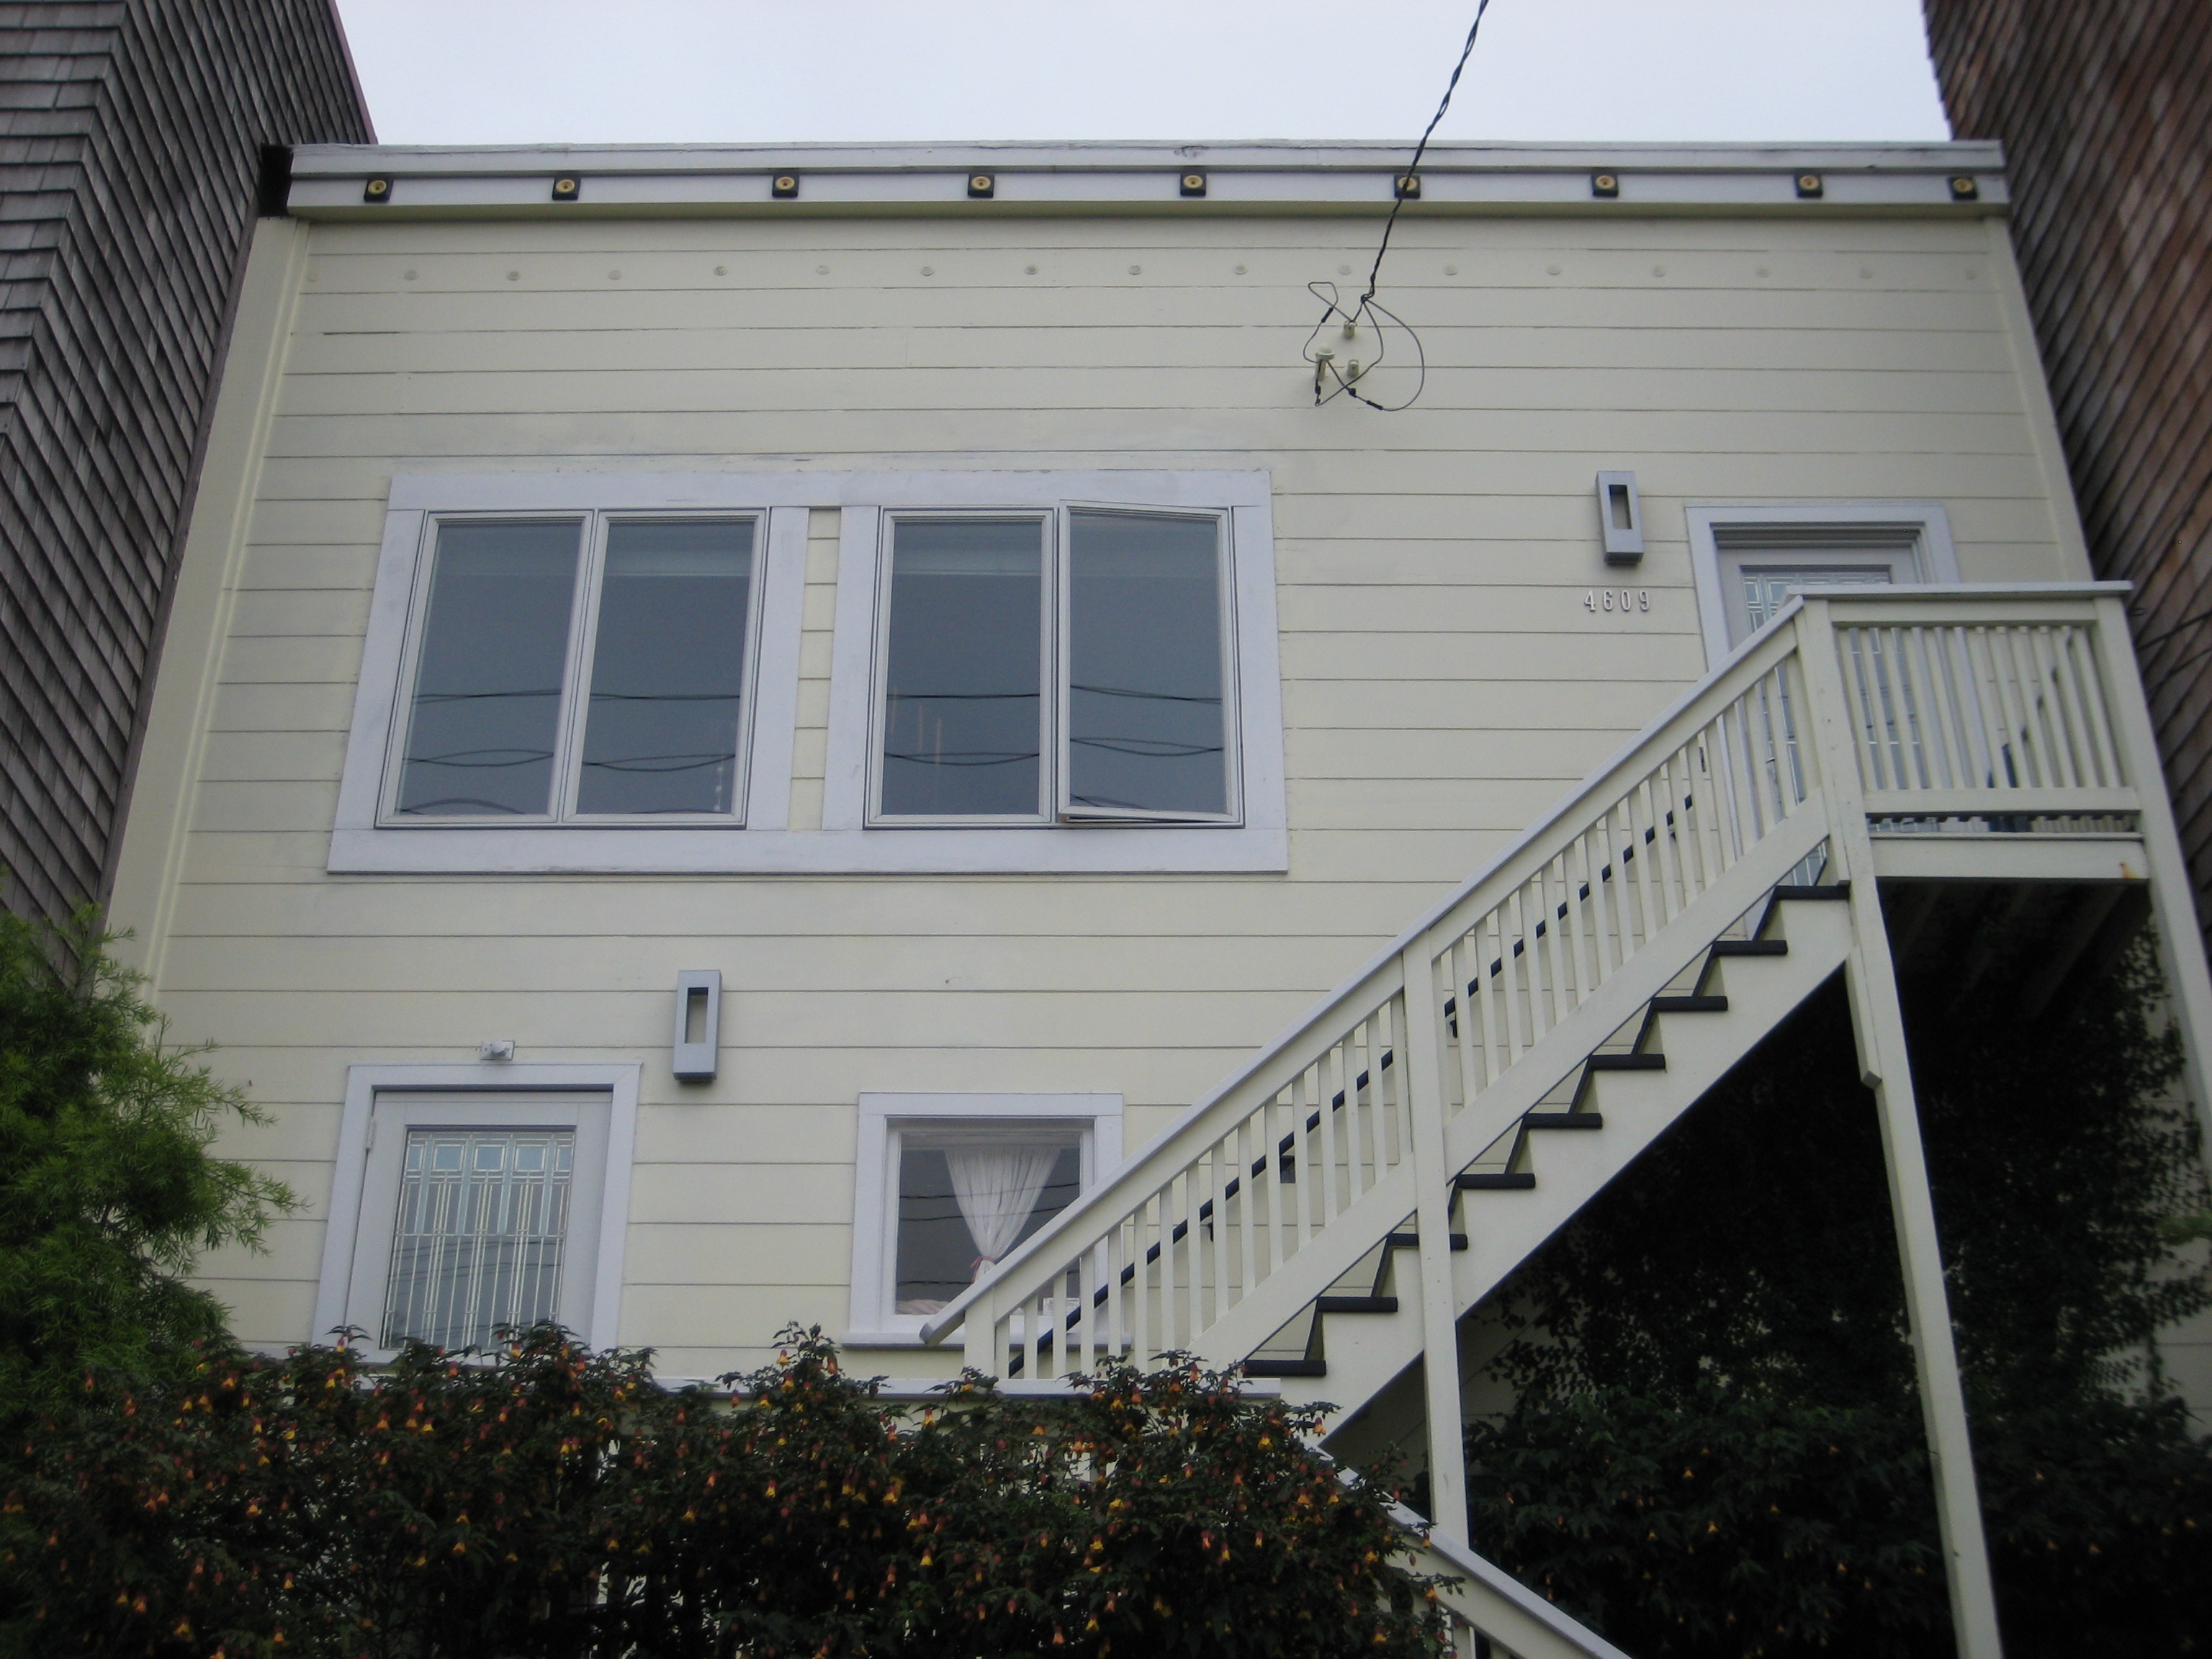
 It drove me crazy. So, it was one of those, “while we’re at it” situations while painting the house. We removed both upper and lower boards. Yes, while on the scalfolding (wish I had a picture of that because Elke insisted on wearing a bike helmet the entire time). Not surprising, it wasn’t quite as easy as I thought it was going to be. I soon learned from one of the local Home Improvement stores (likely Lowes as I seem to be there daily) that we needed to be sure to “water-proof before replacing the boards”. Soooooo, there was that. This process included adhering some water proofing material that went directly onto the house but below the new window boards.
As a result, I found the completed, appropriately separated windows to be quite satisfying and much more aesthetically pleasing. 🙂
Oh, right, there was also the flashing (small yellow strip just above top board in pic above) we needed to add just in front of the water-proofing material and behind the new boards. I believe this was to prevent water from entering behind the windows. It was nailed on and then sealed with a silicone sealant.


Window Re-Framing and Water Proofing Summary
- Quote from Contractors; NA. We didn’t get one.
- Our cost; Approx. $55 (including wood, water proofing material, and flashing)
- Savings; Not sure what it would have been but certainly more.
- Time; Not too bad, a total of about 4 hours (including, removing old wood boarders, replacing with new, water-proofing, flashing, and prepping area to be painted).
- Stress level; Low, since we were already diving into the painting of the house.
- Do it again assessment; Sure, assuming we were painting again and scaffolding was up. Otherwise, we’d get a quote for it.
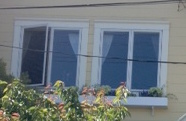
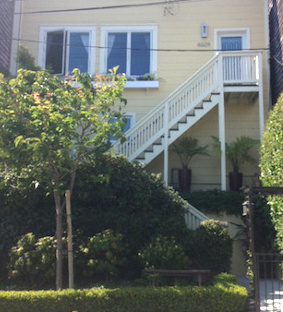
PS – You may have noticed the different flower boxes. The single flower box in the original house picture (below) was also “a bit odd looking” I thought.
Soooo, while we’re at it……
